
How to get started with Rigi24 — from sign-up to your first booking and app installation
A complete step-by-step guide for businesses: sign up, complete your profile, add services and providers, set working hours, create your first booking, use CRM, and install Rigi24 on mobile or desktop.
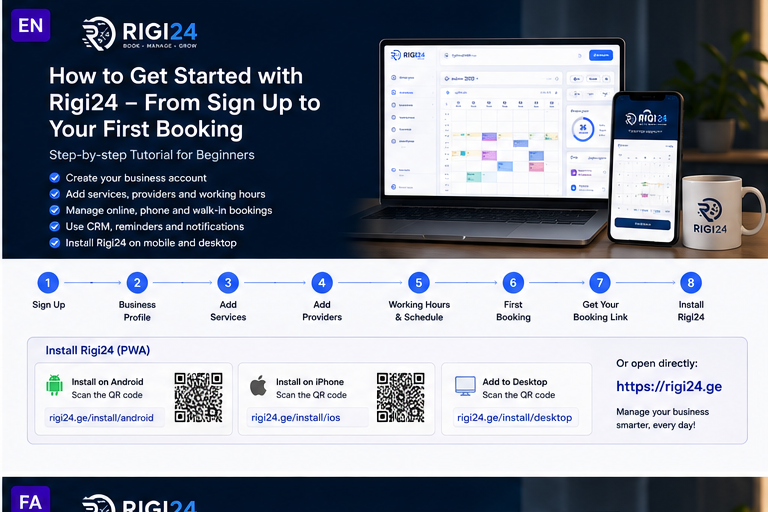
This is a practical getting-started guide for Rigi24 — from creating a business account to your first booking, customer CRM, booking links, QR codes and installing Rigi24 on a phone or computer.
1. Create your business account
Start at Rigi24 Business Registration. Enter the owner details, email, mobile number and password. Use an email address you can access because account verification is email-based.
2. Verify your email and sign in
Open the verification email. If you do not see it, check Spam/Junk. After verification, sign in and continue with business setup.
3. Complete your business profile
Add the business name, description, phone, address, images and useful public information. A complete profile builds trust and improves your public presence.
4. Add services
Create each bookable service with a clear name, description, duration, capacity and price when relevant.
5. Add providers
If multiple people provide services, add each provider separately so availability and bookings can be managed correctly.
6. Set working hours
Configure real working days, opening hours and availability so customers only see valid booking times.
7. Create your first booking
You do not need to wait for an online customer. Create a phone or walk-in booking yourself. It will still appear in the calendar and customer history. See why Rigi24 works even without online booking.
8. Check the customer CRM
Open the customer profile and review booking history, notes and activity. For a deeper explanation, read our CRM guide for small businesses.
Online booking and booking links
Once services, providers and schedules are ready, share the public business link through Instagram, Facebook, Telegram, WhatsApp, your website or Google Business.
Use real QR codes
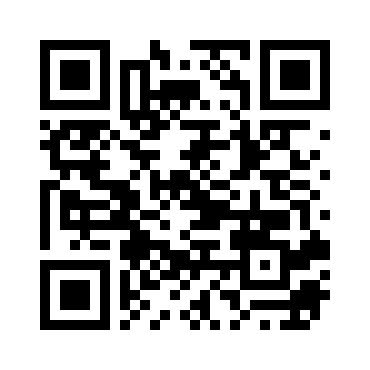 Business registrationOpen registration
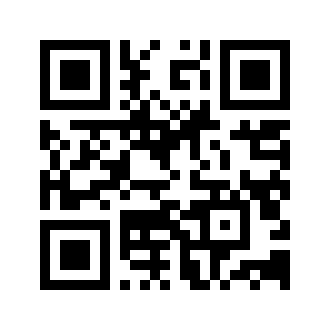 Install Rigi24Installation guide
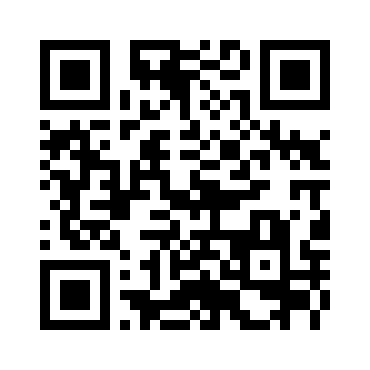 Telegram Mini AppOpen Mini App
Does Rigi24 need installation?
No. It works directly in the browser. Because it is a PWA, you can also add it to your device like an app.
Install Rigi24 on Android
- Open the Android install page in Chrome.
- Tap Install App if the button appears.
- Otherwise open the Chrome menu.
- Choose Install app or Add to Home screen.
- Confirm installation.
Install on iPhone or iPad
- Open the iPhone installation guide in Safari.
- Tap Share.
- Choose Add to Home Screen.
- Confirm the Rigi24 name and tap Add.
Install on desktop
Open the desktop install page in Chrome or Edge. Compatible browsers usually show an install icon in the address bar or browser menu.
Direct installation link
Telegram Mini App
Rigi24 also includes a Telegram Mini App. The technical web route is /telegram/app, but Telegram authentication is completed when the Mini App is launched inside Telegram.
Recommended first-day setup
- Complete the business profile.
- Add at least one real service.
- Set working hours accurately.
- Add providers when needed.
- Create a test booking.
- Check that customer's CRM history.
- Test the public booking link on mobile.
- Install Rigi24 on your main device.
Keep phone, walk-in and online bookings in one calendar
Every booking should live in the same system regardless of where it came from. This reduces double booking and missed appointments.
Rescheduling and cancellation
When a customer changes time, reschedule inside Rigi24 so the history remains accurate. Cancellation data is also useful for future reporting and no-show analysis. See our no-show guide.
Reminders and notifications
Depending on settings, booking notifications can be sent by email, SMS or Telegram. Confirmation and reminders help customers remember their appointments.
Common setup mistakes
- Wrong service duration
- Incomplete working hours
- Keeping phone bookings outside the system
- Using separate calendars
- Incomplete public profile
- Not sharing the booking link
- Not saving useful CRM notes
Launch checklist
✅ Email verified
✅ Business profile completed
✅ Services added
✅ Providers added
✅ Working hours configured
✅ First booking tested
✅ CRM checked
✅ Booking link shared
✅ Rigi24 installed
Summary
You do not need to activate every Rigi24 feature on day one. Start with your account, profile, services and schedule. Then add CRM, notifications, public profile, QR codes and online booking step by step.
Rigi24 — Book. Manage. Grow.
FAQ
Is Rigi24 a Windows program?
No. Rigi24 is web-based and can also be installed as a PWA.
Can I install it like an app?
Yes, on Android, iPhone/iPad and compatible desktop browsers.
Where do I register?
Can phone bookings be added?
Yes. Staff can create phone and walk-in bookings directly.
Where is the installation QR code?
It is included in this article and on the Rigi24 installation page.
Related Rigi24 Academy articles
- What Is Online Booking and Why Do Service Businesses in Georgia Need It?
- How to build a Rigi24 business profile that attracts more customers
- Bookings from Instagram, WhatsApp, Phone or Website? How to manage every customer request in one system